Stress testing secured application with JMeter
Recently, I found myself in need of stress testing an OAuth2 flow of an application while working for Berrycloud. What I needed to do was to test the login and logout processes (obtaining and revoking the access token) repeatedly.
The desired test should look as follows:
- Obtain an access token
- Perform a random request on some secured endpoint
- Revoke the access token
- Repeat 1.
There are multiple approaches to how to write such test case, but there is an excellent tool that does it out-of-the-box - JMeter:
The Apache JMeter application is open source software, a 100% pure Java application designed to load test functional behavior and measure performance. It was originally designed for testing Web Applications but has since expanded to other test functions.
– Apache JMeter documetation
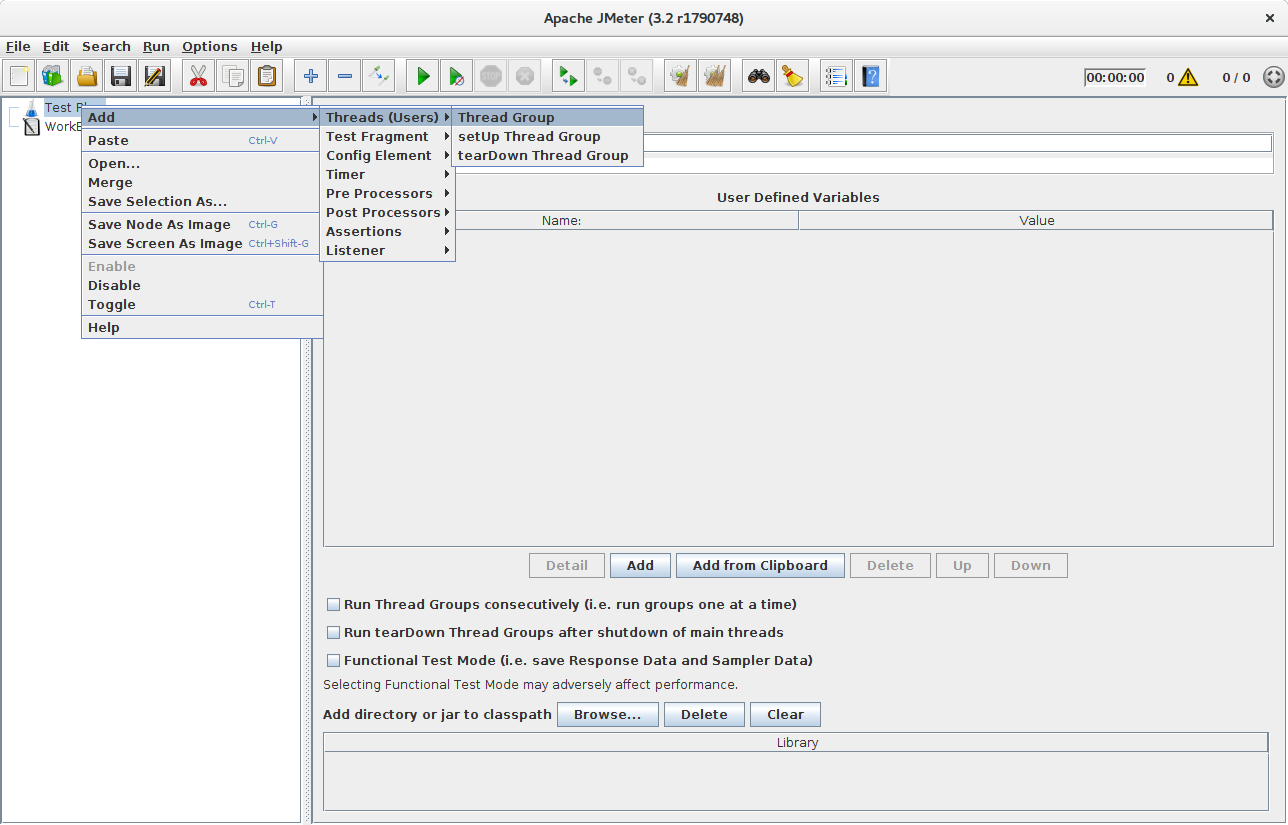
First of all, simply download JMeter and launch the jar file. A default test plan is already open so let’s start modifying it. Right-click on it and create a new Thread group. In the thread group configuration, you can specify the number of threads to run this test case, number of iterations, duration/start time etc.
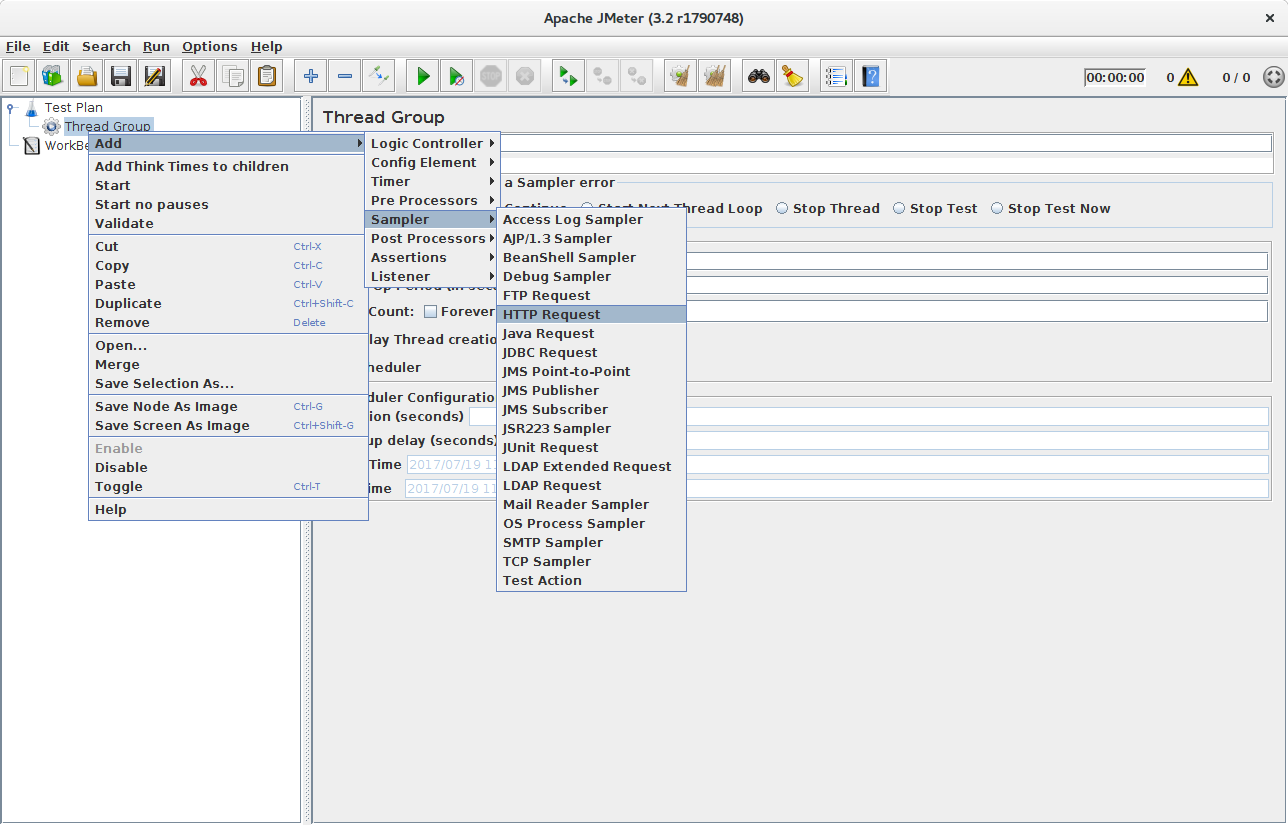
The whole test plan is basically a tree where you can attach and nest nodes to specify the workflow. Our next step is creating the first HTTP request for obtaining the access token under the thread group. I will demonstrate the configuration against a localhost environment in this post. Though, normally, you would stress test an application in production (Netflix way) or staging environment.
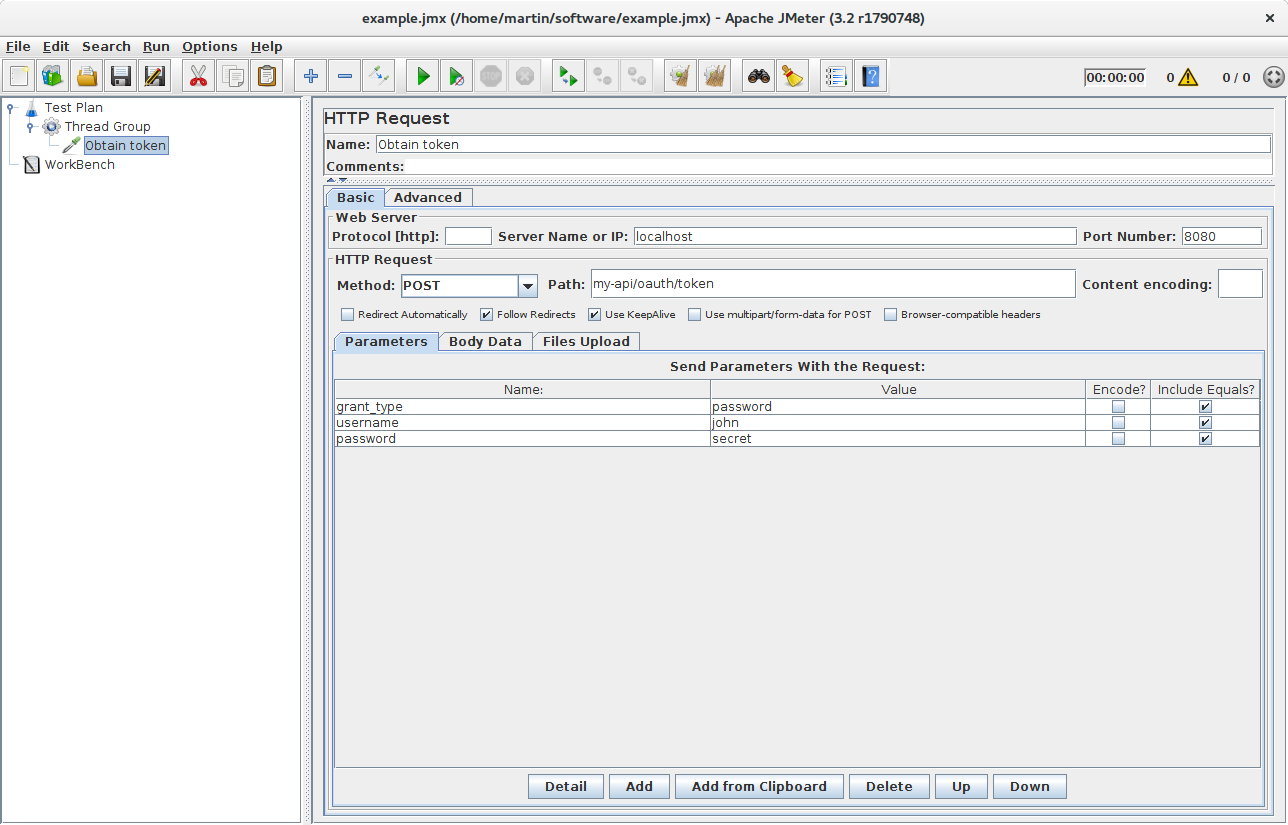
Typically, a /oauth/token endpoint is secured with a basic authorization that looks as follows: Basic <Base64 encoded clientId:clientSecret>. Additionally, grant_type needs to be specified. Let’s assume that we are using the password grant type with a user called ‘john’ and password ‘secret’:
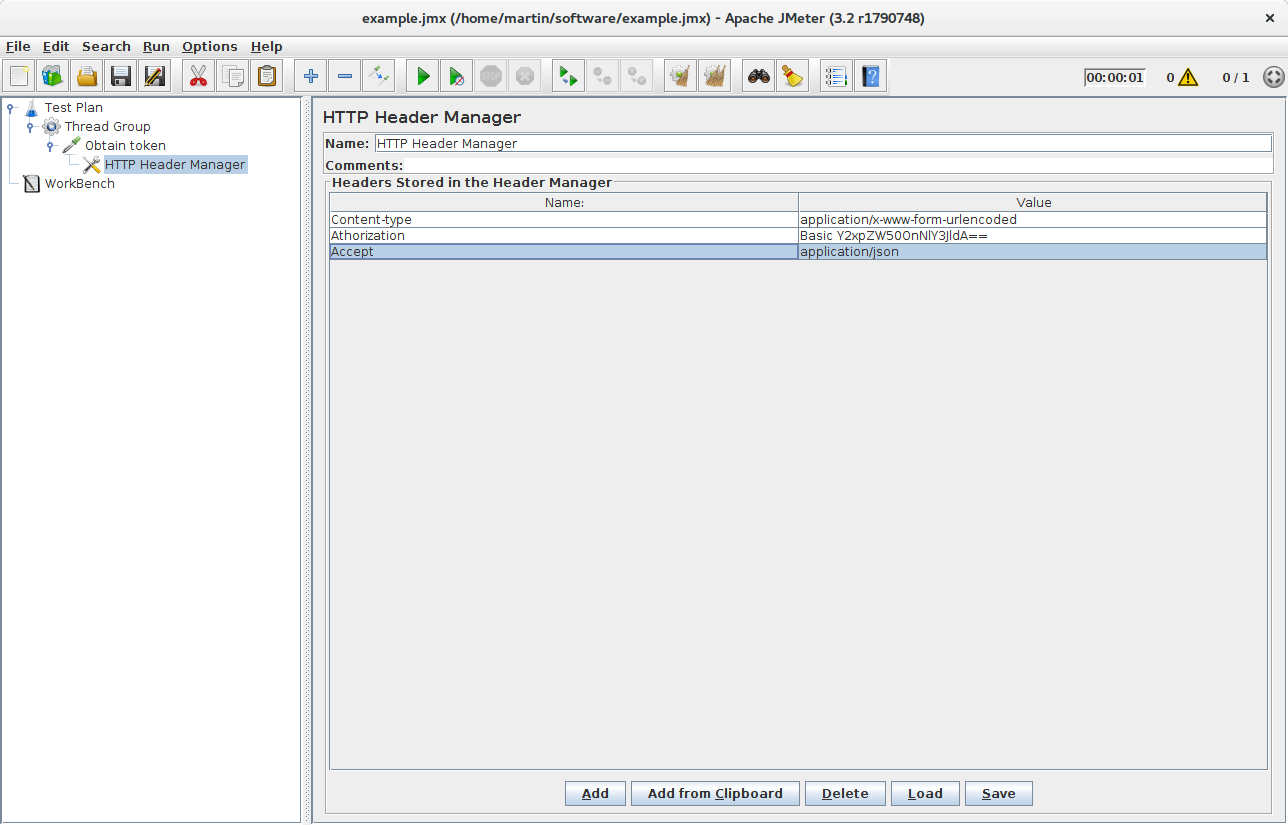
Additionally, headers with basic auth and content type need to be specified as well. You can add additional configuration to the request by right-clicking on it and selecting the add option. In this case, we need an HTTP Header Manager:
If the request is configured correctly, you can now click run to execute it. You probably won’t see much in JMeter but we can add View Results Tree node for checking the reponse to see if the request was successful. Our next step is getting the access token from the JSON response. Let’s say that the response body looks like this:
{
    "access_token":"370592fd-b9f8-452d-816a-4fd5c6b4b8a6",
    "token_type":"bearer",
    "expires_in":43199,
    "scope":"read write"
}
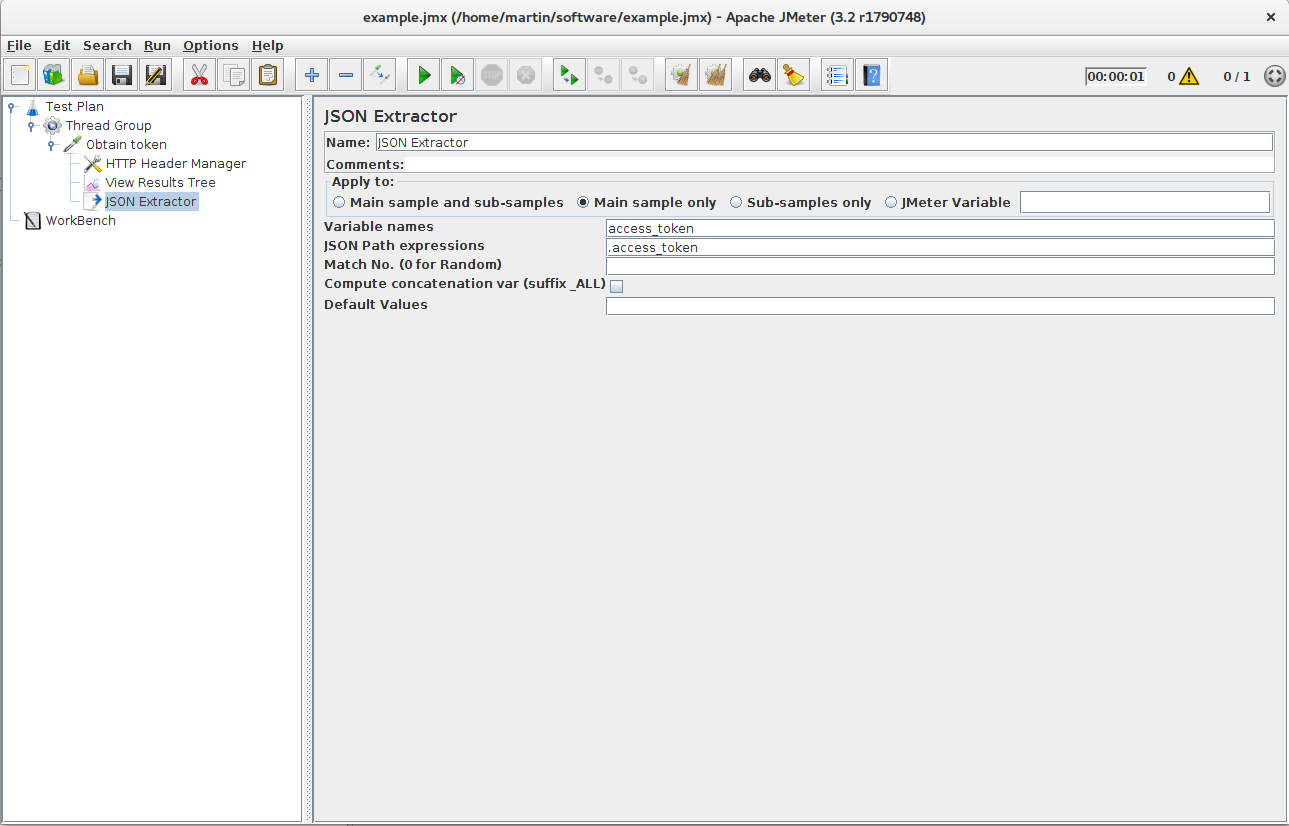
JMeter has a post-processor called JSON Extractor which is exactly what we need. It lets us grab the access token and save it to a local variable that could be referenced in future requests. Let’s save it with the same name - access_token:
It seems that we are finished with our first request for obtaining the token. Now let’s create another HTTP request in a similar fashion. In this case, we want to hit a /principal endpoint and use the token for getting the secured content. We can reference the token we saved in the previous request with ${access_token} in the header manager:

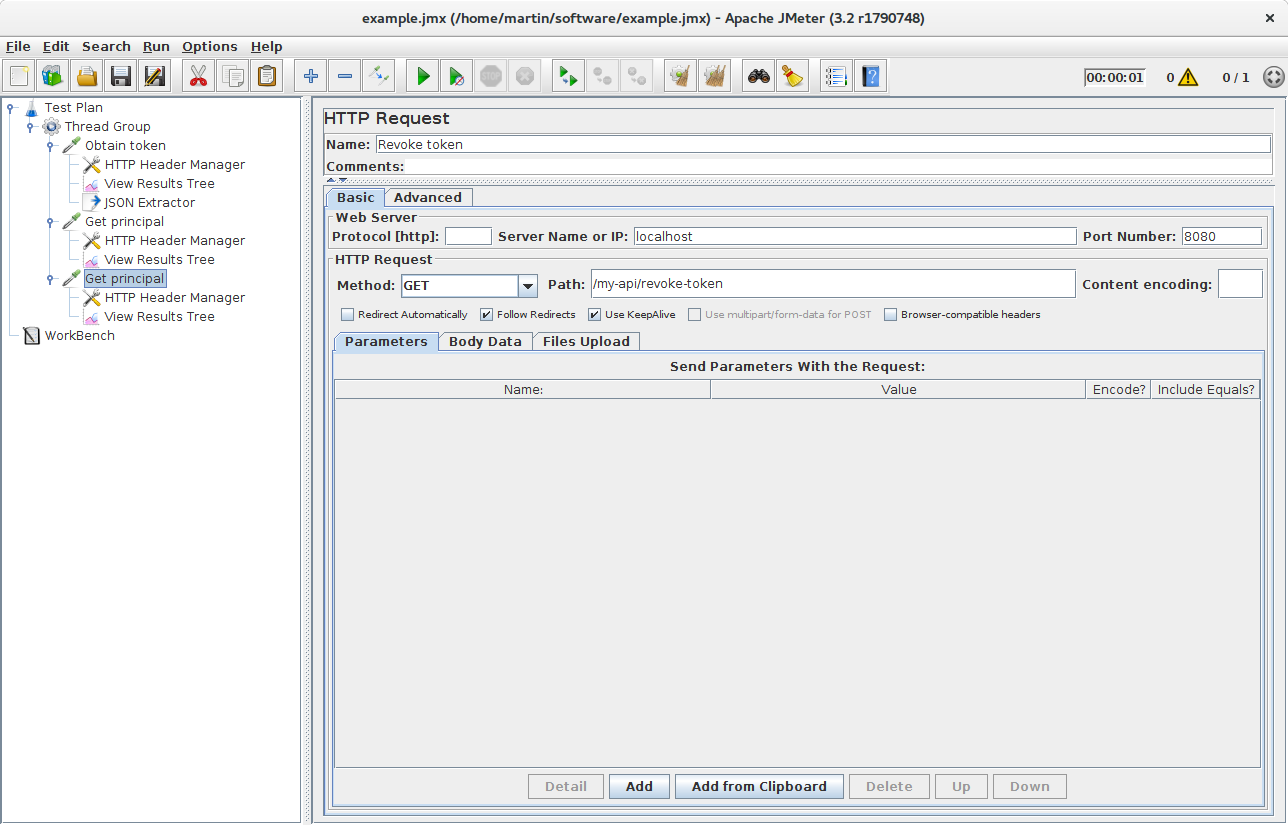
Last but not least, let’s revoke the token so our flow is complete. Assuming that we have a /revoke-token endpoint, this can be done with an additional HTTP request:
Everything is ready to be run now. If we configured everything correctly, we can now set the desired number of threads and iterations and start the stress test. The results can be viewed under the View Results Tree node.
Summary
Today, we learned how JMeter can be used to stress test a certain request flow in a web application. Obviously, this is just a small piece of functionality that is bundled in JMeter and I do recommend reading through the official documentation. The capabilities for monitoring and debugging are very wide.